
Having recently purchased an Eldar Vyper for my Kill Team I decided to paint it up so that it's ready to hot the battlefield. Here is the end result.


 |
| The two new Nobz with their cybork bodies |
 |
| This Ork has Cybork upgrades to his head. |
 |
| Whilst this one has had his right arm replaced with a chainsaw! |
 |
| As well as his Big Choppa this Nob carries with him a knife and shoota. |
 |
| Whilst this one is armed with Stick Bombz, extra ammo and a medi kit. |

 |
| Here's the piece of scenery that I want to base. Before I even attempted to base it I undercoated the bulkhead with black spray undercoat. |
 |
| The next task is to mark out the plastic card. A top tip when doing this is to make sure that you leave enough room on the base for a miniature to be able to stand next to the scenery piece that you wish to base. This prevents "wobbly model syndrome" from occurring when you're trying to make your miniatures move through the terrain. |
 |
| The next job to do is to make some marks as to where you want your scenery to sit. Remember to leave enough space for a single miniature to fit around it! |
 |
| Once everything is marked out the next job is the cutting. I used a Stanley knife to cut out my board. Make sure that you place a cutting mat under the card so that you don't damage your table top. |
 |
| Once the board is cut out you're ready to stick your scenery piece to it. I used super glue to this job. Whatever glue you use make sure that it is suitable to stick plastic to plastic. |
 |
| Apply a little pressure to make sure the glue sets the scenery to the board. |
 |
| Once the super glue has dried the next stage is to add some texture to the board. As this is going to be a Necromunda piece of terrain I used sand (which will later be painted grey) but you could use flock or snow depending on what type of ground you are going for. When sticking the sand to the base make sure that you use PVA wood glue. I find that this gives the strongest bond. |
 |
| Once the PVA glue has fully dried (which will take about 12 hours) you are ready to do some painting. Before you apply any paint make sure you brush off and excess sand, otherwise it will end up in you brush and in your paint pots! I painted my base Mechanicus Standard Grey. |
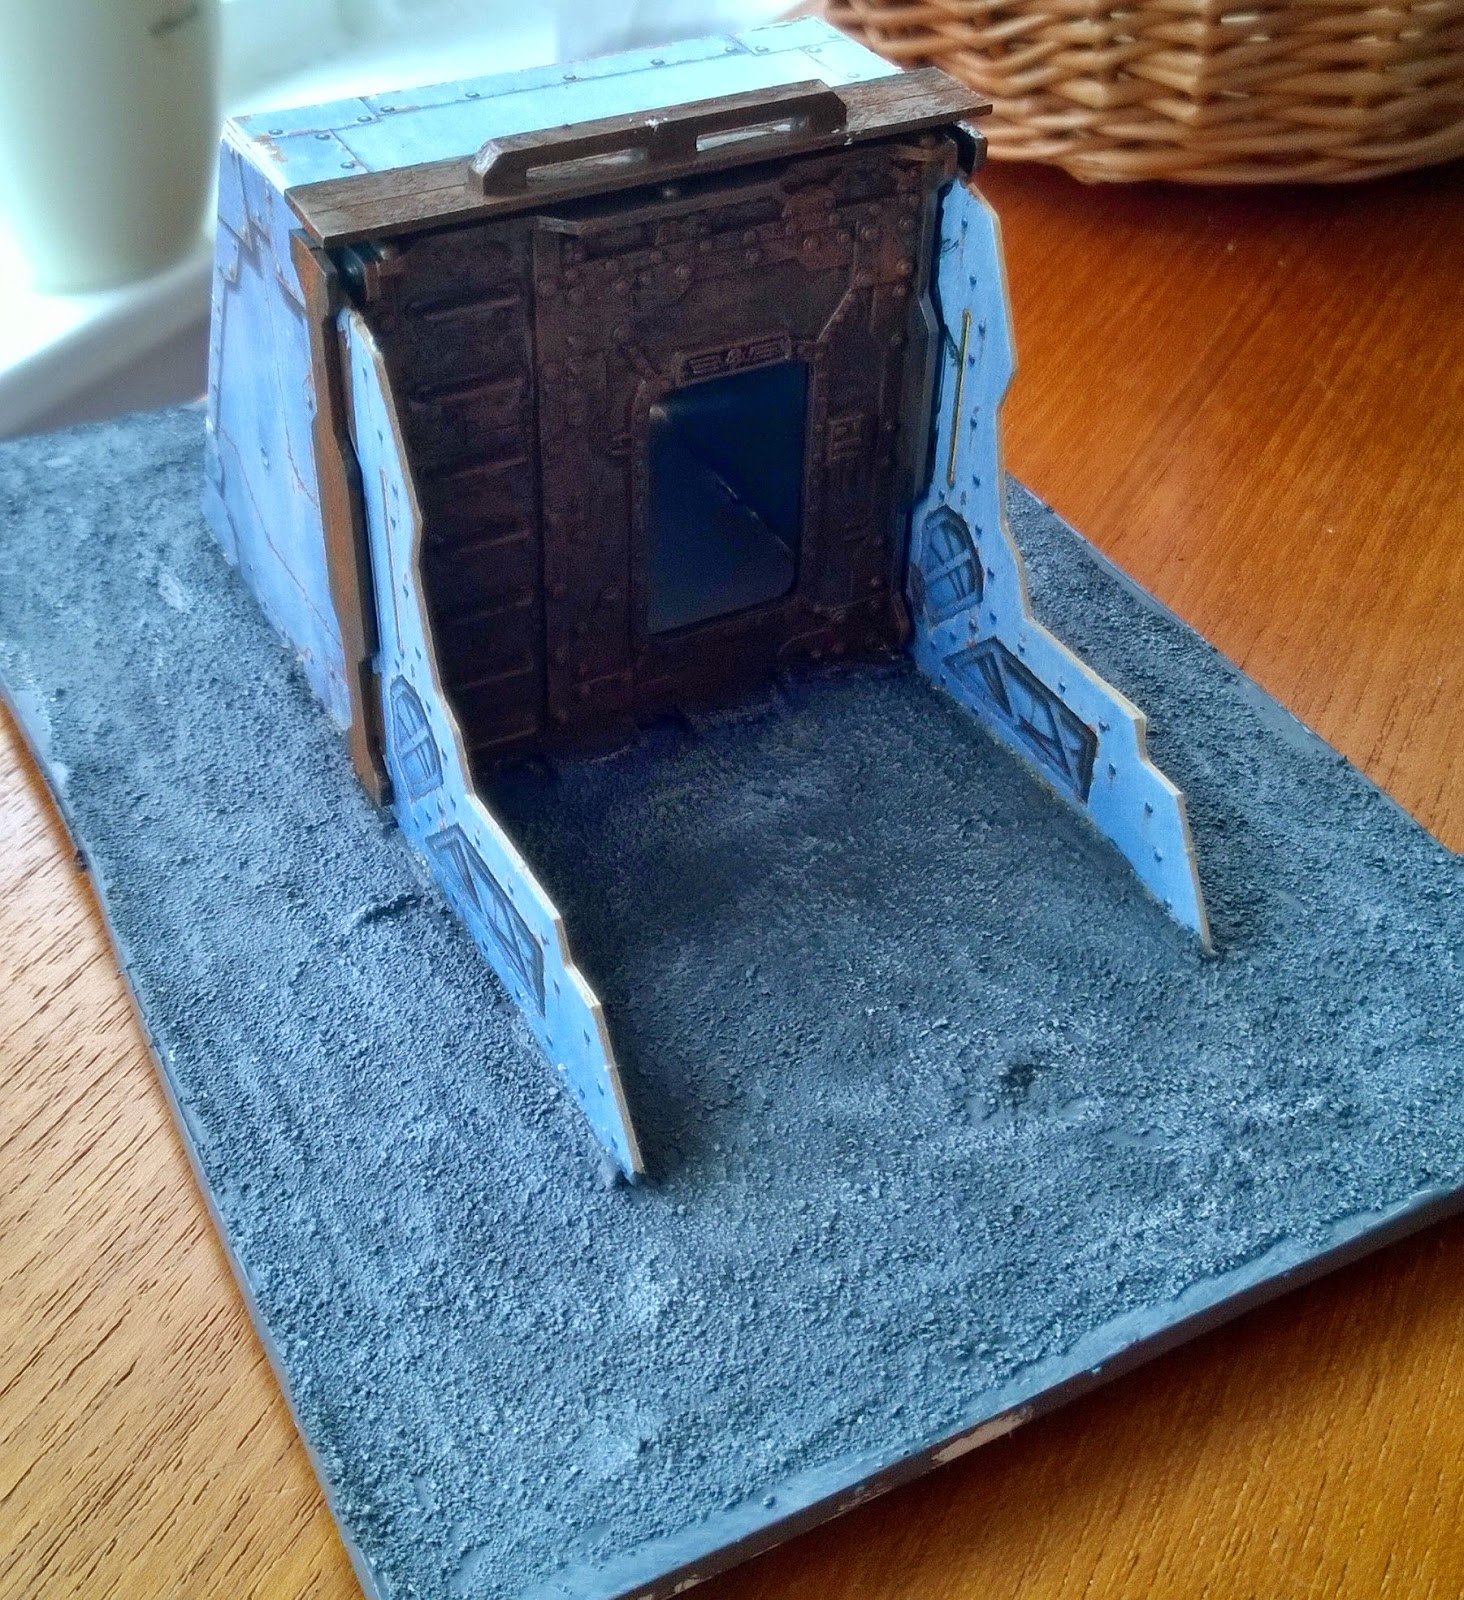 |
| To finish the concrete look I dry brushed the base with Praxeti White. The sand texture is great for highlighting. Once that was dried I painted the bulkhead. |
 |
| And here is the finished piece ready to be used in my next game of Necromunda. |