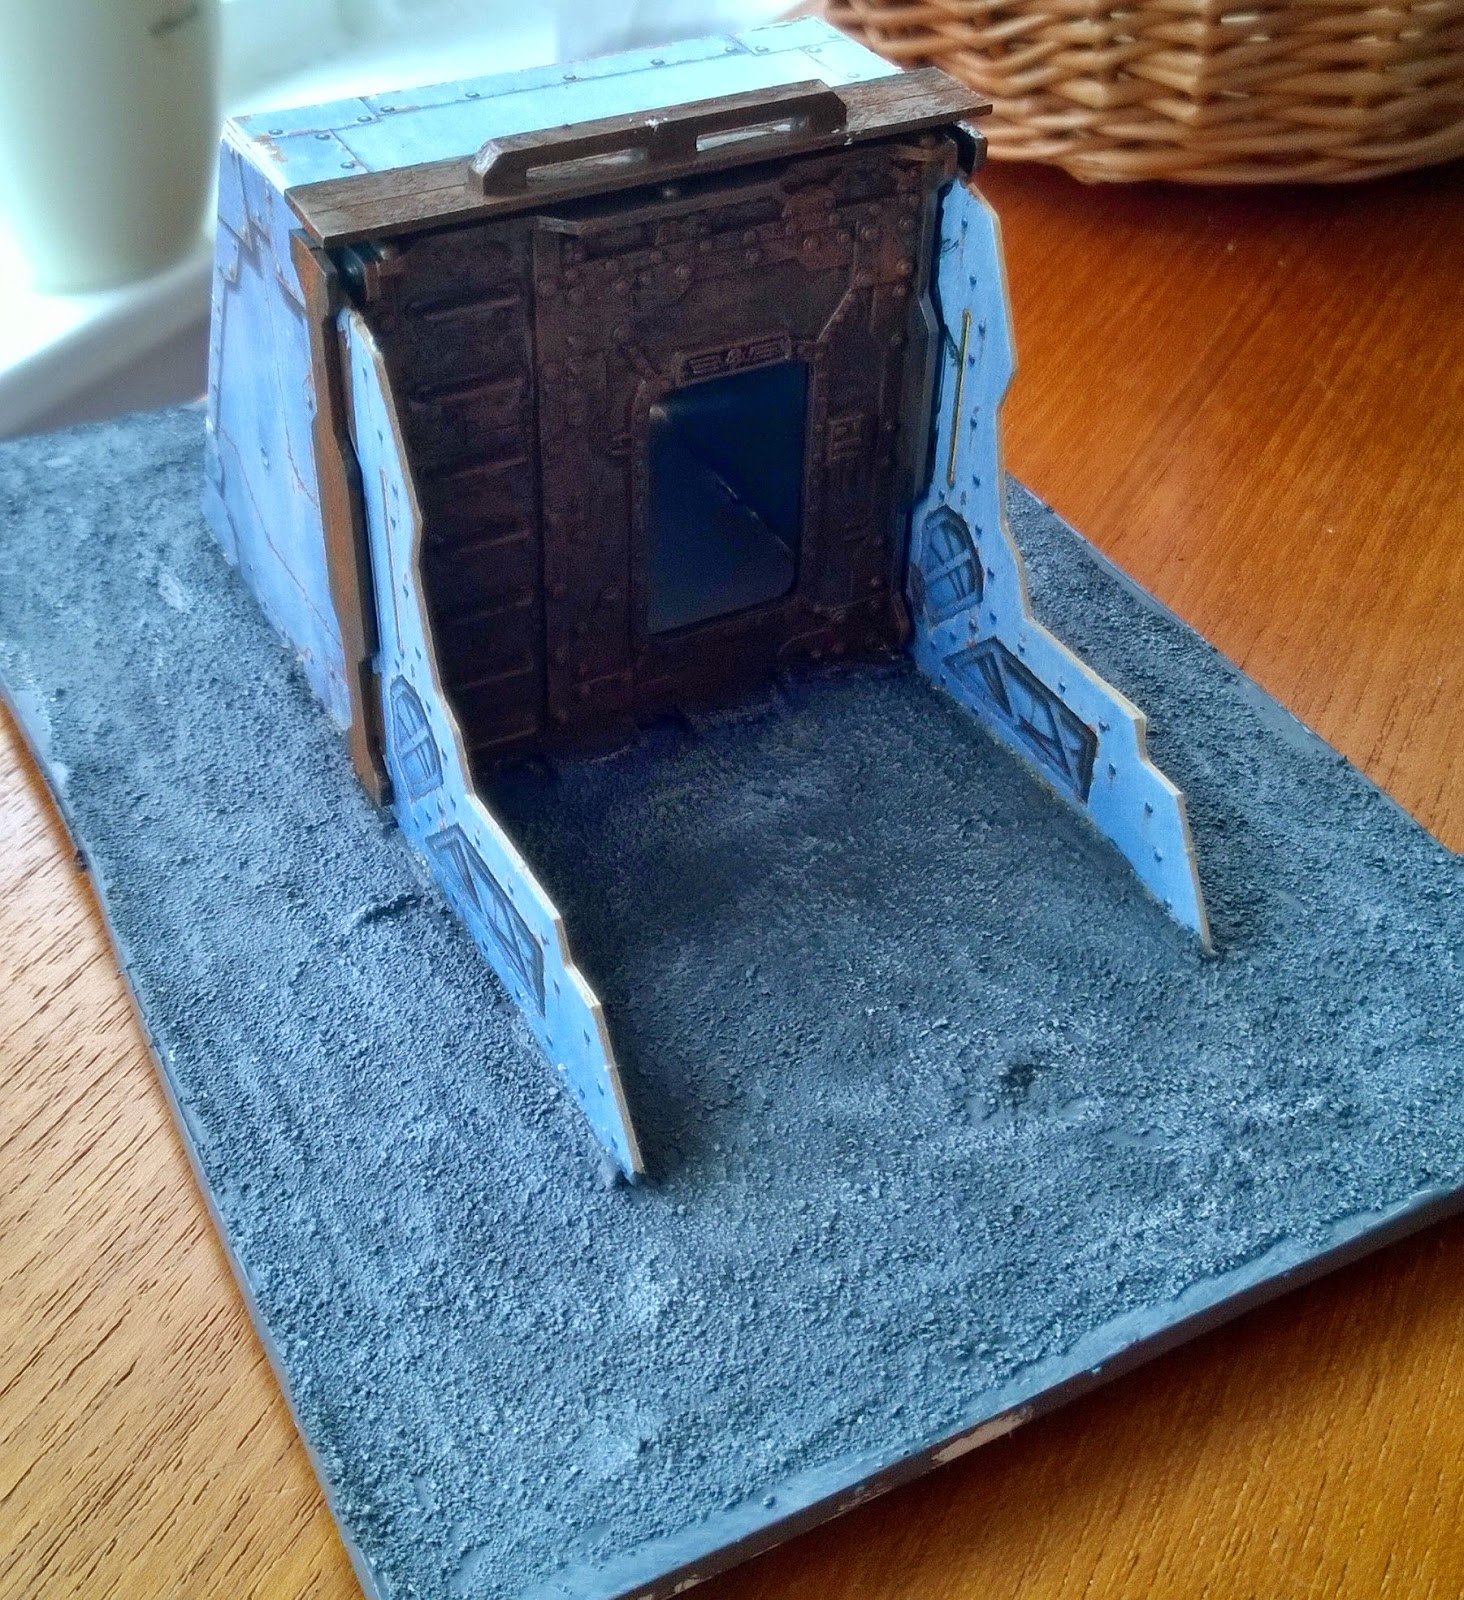
I thought for this article I'd focus on my method of basing scenery for games such as 40K or Necromunda. I'd recently been working on some Necromunda terrain so here's how I got on with on of the bits.
 |
| Here's the piece of scenery that I want to base. Before I even attempted to base it I undercoated the bulkhead with black spray undercoat. |
 |
| The next job to do is to make some marks as to where you want your scenery to sit. Remember to leave enough space for a single miniature to fit around it! |
 |
| Once everything is marked out the next job is the cutting. I used a Stanley knife to cut out my board. Make sure that you place a cutting mat under the card so that you don't damage your table top. |
 |
| Once the board is cut out you're ready to stick your scenery piece to it. I used super glue to this job. Whatever glue you use make sure that it is suitable to stick plastic to plastic. |
 |
| Apply a little pressure to make sure the glue sets the scenery to the board. |
 |
| To finish the concrete look I dry brushed the base with Praxeti White. The sand texture is great for highlighting. Once that was dried I painted the bulkhead. |
 |
| And here is the finished piece ready to be used in my next game of Necromunda. |


No comments:
Post a Comment